Effect Maker Help for Sharepoint
Getting the Effect Maker for Sharepoint
The Effect Maker can be installed on your Sharepoint site as an App. Follow these steps:
- Log in as an administrator to your Office 365 site
- Go to your app catalog site. All Sharepoint subscription plans should have it.
- Go to the Office App store and make sure you are viewing at the US-EN offers
- Purchase Effect Maker Pro Edition or download the free Effect Maker Basic Edition
First step, selecting your effect
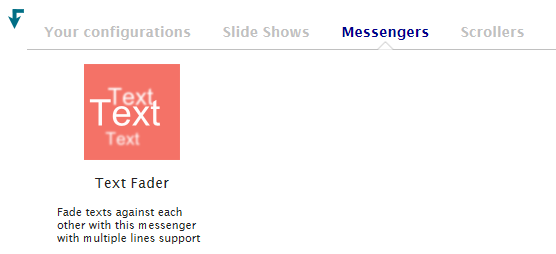
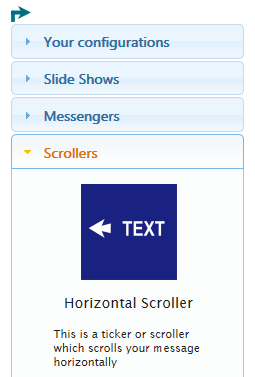
The first thing you have to do is select the effect you want to customize from the gallery. As you see below, the gallery can also be flipped into an horizontal position. For smaller screens, vertical position is recommended. A preview is displayed of the effect when you click on the icon.
Customizing your effect
When you click on an effect you will see a configuration dialog. The most important to note is the configuration save name. When you save your effect, this is the "file name" that it will have. You must remember this when you insert the effect into your page later on. The effect width and height (in pixels) is important here, because for some effects (i.e. slide shows) this will be a limit for the effect for displaying its graphics. It also indicates the size of the effect on the screen.
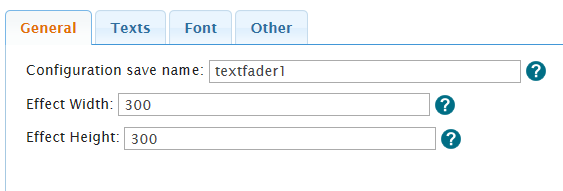
The question icons will display a tip which is specific for the type of effect and field you are customizing.
Adding and editing items
When selecting an effect that displays a sequence of texts or slides like for instance Text Fader, you will see a list in the configuration dialog. For each item you see four icons for each items. One indicates the index, the trashbox is for deleting that particular item and the upwards and downwards pointing arrows are for changing the placement of that item in the list. At the bottom of the list you have a "+" icon for adding additional empty items.

Handling colors
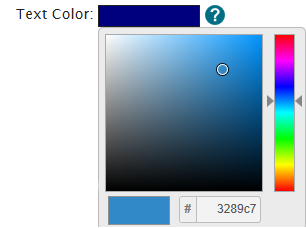
You can set the color for a text based effect using the color picker. Note that some effects requires you to set the background color as well, for instance scrollers which need to know the background color of the page you intend to place the effect on. This is in order to make sure the fadout effect color at the edges matches the page background.
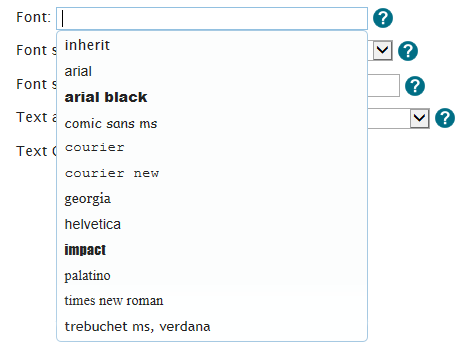
Setting fonts, style and size
Text based effects lets you set the font, font style and size. The size is in pixels. The styles you can select is: Normal, Bold, Italic and Oblique. You can write any font you want, but make sure you specify a font that your web site supports (either standard fonts or fonts loaded with CSS). Note that by emptying the font field you can see the list of the standard fonts displayed below.
Setting links
When specifying or setting links. Remember that the links will be invoked depending on the URL target field. The default value is usually "_self" which means that the link will be invoked in the same browser tab. You can also specify the name of a frame, "_blank" to open a new window and some other options according to the HTML specification.
Managing and uploading images with Effect Maker for Sharepoint
Effect Maker creates a working folder (document library) for you automatically in Sharepoint in which it will use to display images in picture based effects like slide shows. By clicking on the upload button this document library will open on a separate browser tab. You will be able to use the standard sharepoint features to upload and delete images in your working folder. Effect Maker will then display those files for the effects. Important note! You have to reload effect maker after uploading new images for them to be selectable (just reload the page) or wait a few seconds until the program has reloaded the file list automatically.

Saving the effect
When clicking on the "Apply" button in the configuration dialog, the effect will be saved with the configuration name you specified. It is now ready to be inserted into your page.

Reverting your changes
If you regret the changes you have made to your effect with the configuration dialog, but not yet pressed the "Apply" button, then you can revert the changes by clicking the "Restore" button. This will simply reload old configuration.
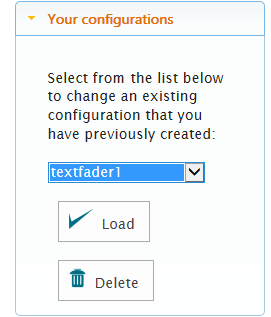
Loading your previous configuration
You have a dropdown list in the gallery which shows your previous configurations. You can load them with the "load" button or delete them with the "delete" button. Note that deleting previous configurations cannot be undone.
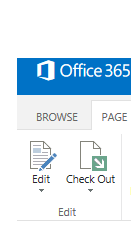
Inserting the effect into your sharepoint page
First start by going to the sharepoint page you want to insert the effect into. Click on the edit ribbon button:
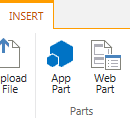
Now click on the edit window and click on the insert tab in the ribbon menu. Select "Web part".
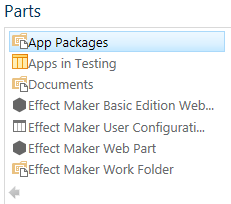
Select the web part of the edition of Effect Maker that you have.
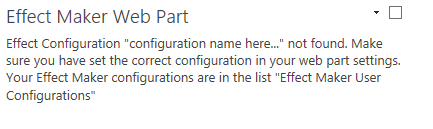
You will see the web part below. Edit the web part (click on the downward arrow at the top right):
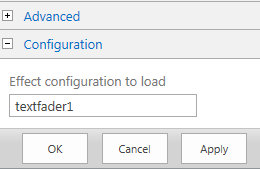
Remember the name of your configuration? You set the field in the Configuration option at the bottom of the web part settings. If you like, set the Chrome type dropdown field in the "Appearance" section to "None" in order to remove the decorating bounding box around the effect.
Save the page with the save option in the ribbon menu. The effect should now show on your Sharepoint page.
Other settings
You can set numerous of other settings for the effects which changes their behaviour.